How to Design Your Own Skateboard Deck
Three steps: pick the base, prepare the image, compose it in the browser. No illustration skills, no software to install, and about fifteen minutes from an idea in your head to a design ready to print on 7-ply maple. What follows is what to do, in what order, and why each step matters more than it looks.
Before you start: decide what the deck is saying
A custom deck works when it says something. Before opening any editor, spend ten minutes deciding what that is. It doesn't need to be clever — it needs to be one idea you can say in a sentence.
Four directions carry a deck well:
- A photo that means something. Your dog, a trip, a group portrait, the sunset that's been your wallpaper for two years. A photo makes the deck genuinely one of a kind, because nobody else has that image.
- A name or a single word. Big type, a nickname, a date. The cleanest option and the one that ages best: one word placed well fills the whole board without trying.
- An illustration. Your own drawing, a character, a geometric pattern. If you draw, scan it at high resolution; if you don't, shapes and colour still read strongly at deck size.
- A collage. Several small photos, gig tickets, cuttings. It works especially well as a gift — a year of memories on one board.
If you're torn between two ideas, take the simpler one. On a surface this long and this narrow, a design with a single subject beats one that tries to say everything.
Step 1: pick the base
Every deck we make is 7-ply maple, the same construction as an ordinary street deck: stiff, with real pop, meant to be ridden — even though plenty end up on a wall instead, which is fine.
On size, the short rule: around 8.0" is the most versatile street width, and from 8.25" up you gain stability for transitions and ramps. If you're under 1.60 m, or the deck is for a child, consider going narrower. Don't agonise over tenths of an inch — for a first custom deck, 8.0" or 8.25" is right almost every time. There's a full size guide if you want to match it to height, shoe size and style.
Step 2: prepare your image
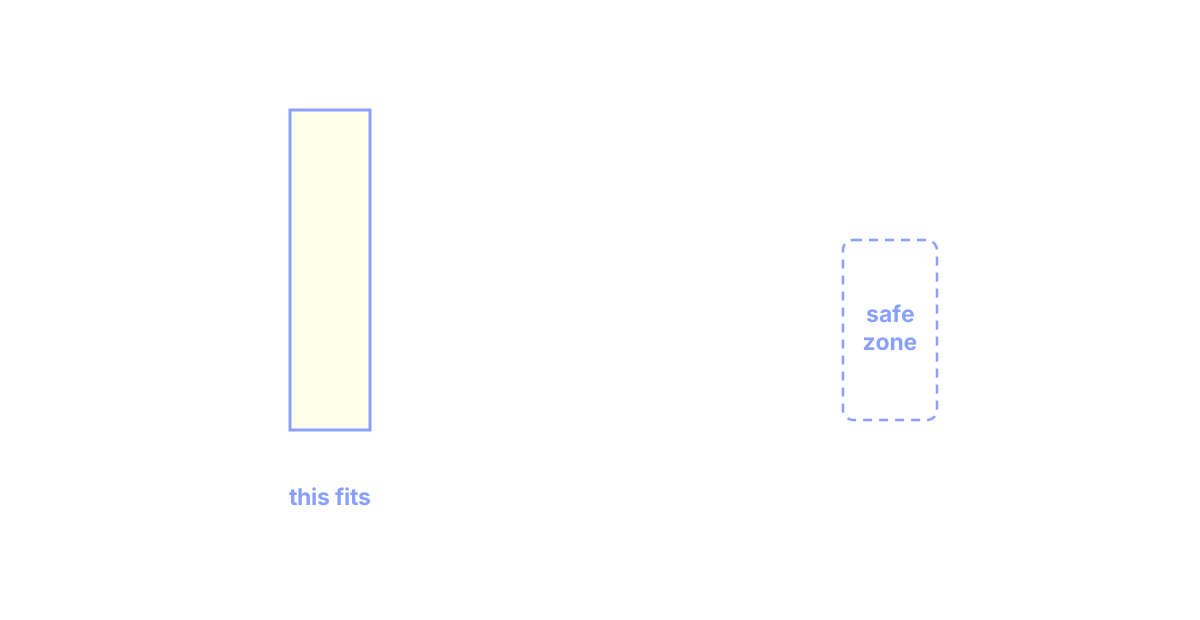
This is where 80 % of the result is decided. The deck is a vertical canvas roughly 20–22 cm wide by 76–81 cm long depending on the size, and that ratio — about 1:3.7 — decides which images work and which don't.
Resolution: more is better
For a print that's sharp at full size, aim for at least 2,500 pixels on the short side. A recent phone photo is plenty as part of the design, but stretched over the full length of the deck it falls a little short — the numbers are in which photos look good printed on a deck. The trouble usually comes from images saved off social media or from screenshots, which arrive already compressed and small. Rule of thumb: if it already looks soft at 100 % on your screen, it will look worse on wood. There's more detail, including the exact pixel sizes per deck width, in the guide to where to get artwork for a deck.
Contrast and colour
Designs that land on a deck share two things: saturated colour and high contrast. A greyish or very dark photo loses its force on wood; an image with deep blacks and one dominant colour reads from three metres away. If your photo is flat, push the contrast and saturation a little before uploading.
Think vertical
Crop, or choose, images that work tall and narrow. A full-length portrait, a landscape turned 90 degrees, a texture, a night sky — those fit naturally. A group photo in landscape will force you to crop faces or leave empty bands. And remember the ends of the deck, the nose and the tail, curve away from you: the detail that matters shouldn't live there.
Step 3: compose it in the editor
With the image ready, open the editor and start building. It runs in the browser, there's nothing to install, and it works in plain layers:
- Background. Start with the base: a flat colour, a gradient, or your image running edge to edge. If the photo doesn't cover the whole board, pick a background colour taken from the image itself so the whole thing holds together.
- Images. Upload your photo or illustration and place it — move, scale and rotate until the crop sits where you want it. For a collage, give each piece its own layer.
- Text. Add a name, a line, a date. Less is more: one big line beats three small ones. Check the text isn't landing on a busy part of the photo; if it is, put a band of colour behind it.
The step that makes the difference: use the 3D view. Seeing the board turn, with its real concave and its real curves, is what tells you straight away that the design sits off-centre, or that something important has landed on the tail. Turn it, look at it the way it will look under your feet, and adjust before ordering.

Five common mistakes
- Using a small or compressed image. The number one problem, and nothing fixes an 800-pixel image stretched across 76 cm. Go back to the original file from the camera or the phone, never the WhatsApp or Instagram copy.
- Putting the important part at the ends. The nose and tail curve, and they're the parts that take the most abuse in use. Keep faces, eyes and text in the middle third.
- Cramming it. Eight photos, three lines and five colours compete with each other and nothing reads. Pick one subject and give it room.
- Text that's too small. What looks legible on your screen disappears at full size from two metres away. If the words matter, make them genuinely big.
- Ordering without turning it in 3D. A design that looks balanced flat often isn't once it's on a board. Thirty seconds of turning it catches almost everything.
If you're stuck for an idea
Two shortcuts that skip the blank board. The editor opens with a catalogue of templates already laid out at deck proportions, so you replace the words and the photo rather than starting from nothing. And the public gallery holds designs other people chose to publish, which you can open and take apart as a starting point. Both are free, and so is changing your mind: you only pay if you order the board.
Frequently asked questions
How do I design my own skateboard deck?
Three steps. Pick the size and the background; prepare an image that works tall and narrow, at least 2,500 pixels on the short side; then compose it in the browser in layers — background, image, text — and check it in 3D before ordering. No design software and no account are needed, and designing is free.
Do I need design software or drawing skills?
No. The editor runs in the browser and works in plain layers: you upload an image, move and scale it, and add text. If you would rather not start from an empty board, it opens with templates already laid out at deck proportions, and the public gallery holds designs other people published that you can use as a base.
What image resolution do I need for a custom deck?
At least 2,500 pixels on the short side for a design that covers the board, and more is better. A recent phone photo is enough as part of a design, though stretched over the whole length of the deck it falls a little short; screenshots and images saved off social media usually are not enough even for that, because they arrive already compressed. If it looks soft at 100 % on your screen, it will look worse printed at 76 cm.
Why does a vertical photo work better than a landscape one?
Because a deck is about 20–22 cm wide by 76–81 cm long, a ratio of roughly 1:3.7. A landscape photo cropped to that keeps only a narrow strip down the middle and loses the rest. Portraits, textures and images turned 90 degrees fit without fighting the shape.
Where should the important part of the design go?
In the middle third. The nose and the tail curve away from the viewer, so anything placed there is seen at an angle, and those are also the areas that wear first if the board gets ridden. Keep faces, eyes and text centred.
How long does it take from design to finished deck?
The design itself takes about fifteen minutes in the editor, and you can leave it and come back. Once ordered, the deck leaves the workshop in 72 hours. Inside Spain shipping is free and takes a few working days; to the rest of the European Union there is a surcharge per order that depends on the country, from 15 €, and no published delivery time yet.
Design yours
The editor is free and needs no account. A deck is 89 € with shipping in Spain included, or from 15 € more per order to the rest of the European Union, depending on the country, and it leaves the workshop in 72 hours. Griptape and parts are separate.
Open the editor